Showing posts with label DIY. Show all posts

Monday, February 13, 2012

Hanging Hearts: Origami Therapy

Valentine's Day is...tomorrow?! I am thankful and so blessed with love in my life. I am even moreso thankful that I don't feel the need to buy, buy, buy to show my love or appreciation for that special someone...but instead, make, make, make or do, do, do. Regardless, if you're still frantically trying to pull a gift idea for a valentine out of places where the 'sun don't shine,' don't fret; by using just paper, ribbon and a bit of hot glue, you'll be unstoppable!


Origami heart decor (original, I know). Although not a new concept, they are new to me. For those of you experienced in origami, you'll know that it actually is quite therapeutic. I started playing around with different origami shapes and figured that V-Day was right around the corner, so WHY NOT do hearts?!

This video isn't the greatest quality, but it's a simple method to follow. Start with notebook paper, or computer paper, until you get the hang of it. For my decor/valentines, I found cardstock to be a better fit; of course, it's not easy to work with, but definitely more sturdy (use a metal ruler or top of a candle for creases). I especially like the outcome of pairing a bold color with neutral, vintage/curvelinear patterns.


What you need:
  • Assorted Cardstock (standard letter size, 8.5 x 11)
  • Ribbon, twine, string (wide enough to hold glue)..
  • Hot Glue Gun/Gluesticks
Fold origami hearts. Arrange into segments (3 or 5 together on a strand of ribbon work well), the more colors/patterns mixed, the more fun! Cut ribbon to desired length (it helps to lay out hearts first). Gun a dime-sized bit of glue in the center of the heart, hover it over the ribbon and catch the seeping glue on either sides of the backside with a square cut-out of cardstock. This will also help the hearts from pulling way from the ribbon, once you hang them. Surprise your valentine with something unique this year, or hang. Anywhere.

Saturday, February 4, 2012

A Favorite: Italian Pasta Salad

After a couple of rounds of trial and error (as always) I believe it to be damn near perfect, or at least my stomach thinks so.


2 boxes rainbow Rotini
2 bottles Kraft Tuscan House Italian Dressing
3/4 can sliced black olives
1/2 c. sliced green olives
1 of ea: chopped green, red, orange, yellow peppers
2-3 chopped mild pickeled pepperoncini
1-2 diced roma tomatoes
1-2 chopped broccoli heads
3 coined carrots
1/2 diced red onion
2 minced garlic cloves
1 c. diced celery
1 sm. sliced cucumber
1/2 c. shredded parmesan cheese
2-3 tbsp. oregano
salt and pepper to taste
1] Boil noodles to al dente, run under cold water, drain, allow to cool.
2] Chop all vegetables, add parmesan cheese.
3] Dressing: Tried Zesty Italian (or similar) in the past and found it to be much too salty. As there is plenty of salt in the black/green olives and pepperoncini, you should also not add salt until last, if even needed. Kraft's Tuscan House Italian is full of flavor without the sodium.
4] Add dressing as needed; start with one bottle (esp. if sitting over night).
5] Refrigerate; the longer, the better.
6] Enjoy! ~

Monday, December 5, 2011

Yet Another Reason to Love IKEA..

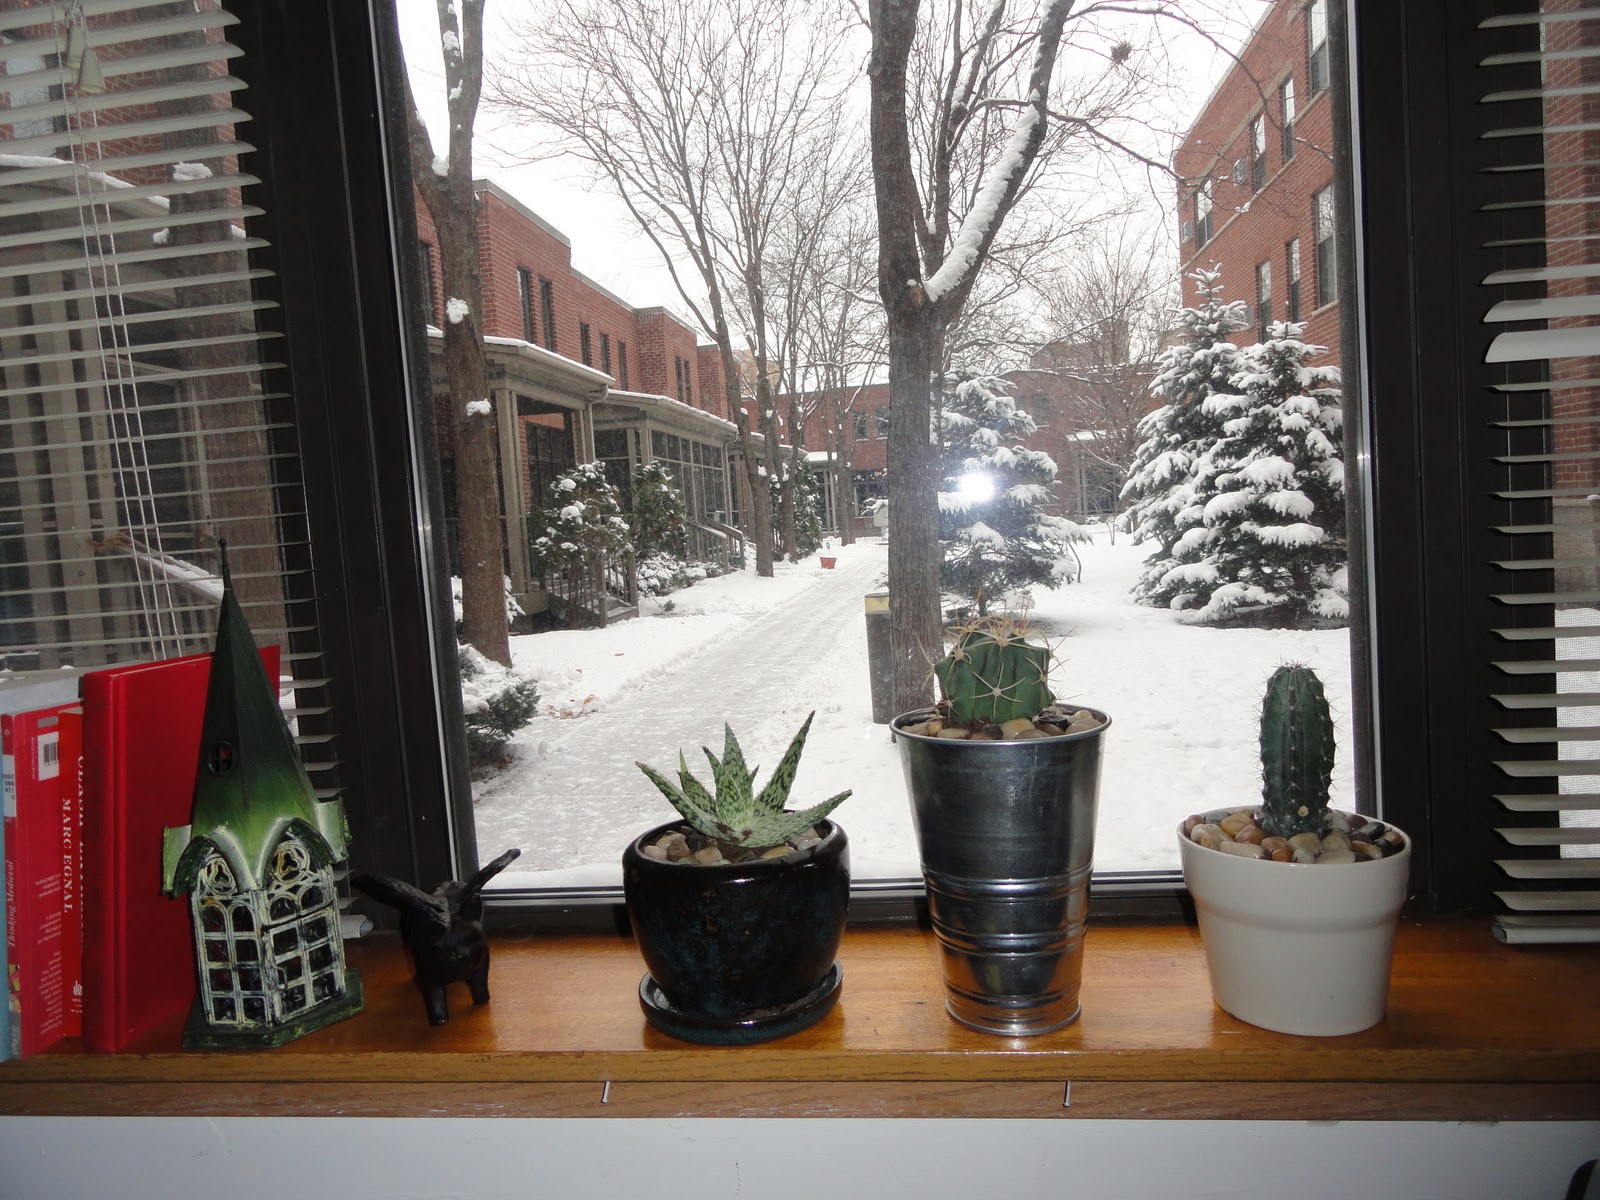
With the exception of the blue pot (Bachman's), everything is from IKEA. Cacti, $2.99 each. Pots, $1.00 each. Rocks, $1.50/2lb bag. Boom. Saharan desert, meet Antarctica. Hey, if I can't get it outside, I'll try anything. Also, avoid getting poked during the transportation, transplantation process. It hurts.


DIY: Tissue Paper Pom-Poms

So simple. So sweet.


Feeling inspired after noticing an 8 pack kit at Michael's for $12, I figured I'd try a hand in making these for my parent's 25th wedding anniversary party. I couldn't have been happier with the results ~ they were quite a hit and are perfect for any occasion. Instead of wire, I used pipe cleaners and finished them off with some silver spray paint. Here's an easy tutorial, http://www.marthastewart.com/how-to/tissue-paper-pom-poms-how-to. Happy POM-ing!

Wednesday, August 3, 2011

Homemade Vegetarian Broccoli Cheese Soup

A personal spin on a recipe I found called, Panera Broccoli Cheese Soup, courtesy of Food.com (love this site). Of course, there was a ton of positive feedback just luring me in...and I was raised on one of the best cheesey soups ever; thanks mom. However, sometimes you just have to figure things out for yourself and find your own way of doing it, the 'second-best' way. But mostly, I was craving it - - which is always good enough of a reason for me to cook anything. It has finally cooled down a bit here in MN, and although some might consider me crazy for wanting to make a hot soup during the summer, I see it as fabulous timing. Between what I had in the pantry and what I found in the garden, I had to buy two things: half-n-half and sharp cheddar cheese. It's really a perfect course for this time of the year - broccoli, carrots, potatoes, peas and beans are all pretty much in full force.


Here's the deal:
Serves 8
1 tsp melted butter
1/2 medium chopped red onion
1/4 c melted butter
1/2 c flour - then add to desired thickeness
3 1/4 c half-n-half cream
c vegetable broth
2 1/2 - 3 c fresh broccoli
2 c carrots - coined
1/2 c fresh peas - out of pod
1/2 c green beans
a sprinkle of nutmeg *careful
8.5 oz. sharp cheddar - the bolder, the better
salt and pepper to taste


Directions:

1] Sauté onion in butter. Set aside.
2] Cook melted butter and flour using a whisk over medium heat for 3-5 minutes.
3] Stir constantly and add the half-n-half.
4] Add the vegetable broth. Simmer for 20 minutes.
5] Add the VEG: broccoli, carrots, potatoes, peas, beans and onions. Cook over low heat 20-25 minutes, or until tender.
6]  Add salt and pepper. Remove from heat and add cheese. To avoid curdling, especially if you're using low fat goodies (HOPE NOT!), do not heat/boil soup after adding cheese.
7] Stir in nutmeg.
I know this will now be my GO-TO recipe for years to come - honestly! It turned out fabulous - took a little time and babysitting, but it was well worth it!

Pair with a your favorite dipping bread and you have a lovely meal - ideal for any season!

Monday, June 20, 2011

Recipe Review: Fannie Farmer's Baked Mac & Cheese

Think outside of the (blue) box.
I found this recipe on FOOD.com after searching for a grown-up version of macaroni and cheese. Something to satisfy the typical, comfort food mood. With about 400/500 reviews saying nothing but good things, I thought I'd give this recipe a try.


1 (8 oz.) package macaroni
4 tablespoons butter
4 tablespoons flour
1 cup milk
1 cup cream
1/2 teaspoon salt
fresh ground black pepper, to taste
2 cups shredded, sharp cheddar cheese
1/2 cup breadcrumbs, buttered

Directions:
1] Preheat oven to 400°F.
2] Cook and drain macaroni according to package directions; set aside.
3] In a large saucepan melt butter.
4] Add flour mixed with salt and pepper, using a whisk to stir until well blended.
5] Pour milk and cream in gradually; stirring constantly.
6] Bring to boiling point and boil 2 minutes (stirring constantly).
7] Reduce heat and cook (stirring constantly) 10 minutes.
8] Add shredded cheddar little by little and simmer an additional 5 minutes, or until cheese melts.
9] Turn off flame.
10] Add macaroni to the saucepan and toss to coat with the cheese sauce.
11] Transfer macaroni to a buttered baking dish.
12] Sprinkle with breadcrumbs - I used Ritz crackers.
13] Bake 20 minutes until the top is golden brown.
14] (You can also freeze this recipe in zip-lock bags for later use - once you have mixed the macaroni along with the cheese sauce allow to cool to room temperature before adding to your freezer - I generally pull it out the night before and allow macaroni and cheese to reach room temperature; I then add the macaroni and cheese to a buttered baking dish, sprinkle with bread crumbs and then bake for 20 to 30 minutes, until golden brown on top and bubbling.

If I were to make this again:
I would use a different type of pasta - the macaroni noodles tended to absorb so much of the liquid, small shells may have worked better. Cut down the flour to 1-2 tablespoons. I subbed 2 c. half and half for the milk and cream - because the noodles absorbed so much, I feel like I added at least 2 more c. of milk. The sharper the cheese, the better - I would add 3 c., not 2. I was OK with how it turned out. It was a lot of work, but I feel like with smaller noodles, more cheese and more liquid, this would've been MUCH better. This is not a very good day later dish, so next time I'd make just enough for one meal.

Tuesday, May 31, 2011

Recipe: Strawberry Rhubarb Slush

Tis the season for rhubarb!
As I was home for the long weekend, I was craving some sort of summery drink, but I didn't have a whole lot of time or ingredients. Although I found many recipes online, I opted to tweak this one - it seemed to be the most simple. Instead of the 8 c. of 'barb the recipe called for, I subbed some fresh/frozen strawberries from Leafblad's last summer, that I dug out of my freezer. Even though I altered the amount of ingredients, a huge batch was still concocted. Which worked out - summer in a glass two nights in a row for this lucky lady and our Memorial Day guests.

2.5-3 c. of chopped rhubarb
2 c. frozen strawberries
about 2 qts. of water

Boil until tender.
Add:
Sugar, to taste
1/2-1 pkg. of strawberry JELLO - add to taste, sugary.
1/2 c. lemon juice
Desired amount of vodka, smirnoff, bacardi - what have you.


Freeze in ice cream pail. Stir every hour until slushy and before serving. If you so choose, add more alcohol. To serve - fill glass 1/2 full of slush add 7-UP, club soda or gingerale. Please observe my serving glass of choice: the fabulous mason jar. And if the weather doesn't say summer, the drink will.
YUM.

Tuesday, May 24, 2011

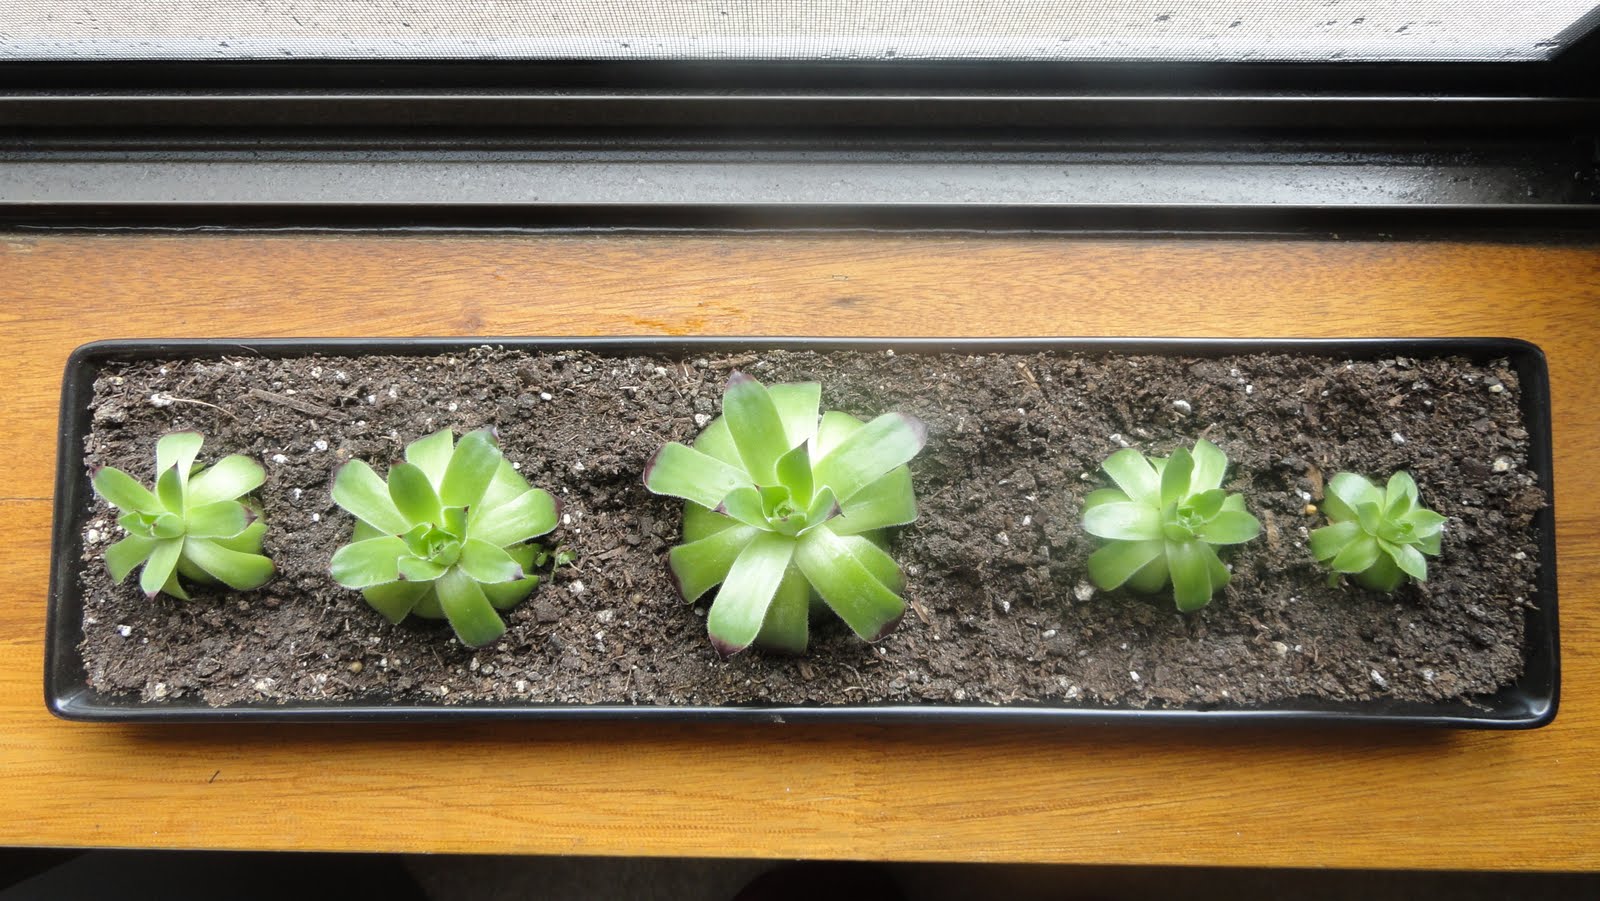
Pretty Hens and Chicks...

All in a row.
I finally found a better home for my little sedums. I wanted something shallow, and almost oriental looking. When I first transplanted them into such a small amount of dirt, I wasn't quite sure if they'd make it. After talking with a lady at Bachman's, she reassured me that they would be fine. She also advised me not to water them a ton, since they are in the same family as cacti. It's been a couple of weeks and they're still kickin, and I think I'm even noticing some growth! - So I think we're good! This, coming from someone that has, in fact, killed a cactus. Whoops.

Monday, April 18, 2011

Makeover: Jello Shots

This fabulous blog replaces the vintage dixie cups with some DIY sophistication and class. They are all so pretty, here are some of my favorites.

Tuesday, March 29, 2011

Wall of Frames

I am inspired.
I know that is nothing new...but since we moved into our new place, all I have wanted to do was decorate, nest, spend all of my money, what have you...errrr me. For our anniversary, Jon framed 4 of my pictures from my photography final, 4 frames, 4 years, awww. The minute they went up, I was in love with the idea of covering up our lovely, white walls with some character, plus, I have many years of photos floating around in cyberspace - Let's get tangible, shall we? The plan is to do black frames (all sorts of shapes and sizes) and black and white pictures. I also want to add in different mediums, like a hand towel my grandma embroidered - more on that later). Luckily, places like IKEA exist for my freshly graduated, poor soul, errrr budget.
An inspiration or two:


It's a start:

Saturday, March 26, 2011

DIY: Sexy, Spikey Trench

I'm lovin this website and their DIY gallery.
So hop on the let's-make-something-fab-out-of-nothing bandwagon!